

Hi there fine people who blog. it is almost Thursday and that means it is time for #Techdaddythursday™ Last week I covered images and social media and if you missed it you can find it here Social Media Post Edition
Today I want to also cover images, but this time specifically for your website and the best practices for those images. Are you sitting comfortably?
Then I shall begin
Words are a large part of what you do for your website, be as we all know images can give those posts a rather serious boost when it comes to people clicking through. But there are things that are very important to do with those images before you press publish
Title Your Images
Several reasons, the first being that if you ever want to find that image again (and you will) searching for a meaningful name is so much easier than some crappy file name. The second is that file names matter to Google and they help make the web (and your images) easier for everyone to find.
Resize your Images
Now that you have named the image something new, the next step to to make them smaller. That is right smaller is better. Remember that well over 50% of your readers will be reading on their phone and an image that is 5932x3267px will have to be scaled way down to fit on the phone screens, and that takes server power and a large file being sent to the phone (using up your readers data) to send a picture that at best will be displayed at 2436×1125 on the top end phones in the world and that is a best case scenario. Realistically your images should never be larger than 1280×720 or 1024×768 and often smaller will look wonderful on almost all devices include the giant HD monitors I use to perv… err, look at your pictures.
Compress your Images
Check the metadata

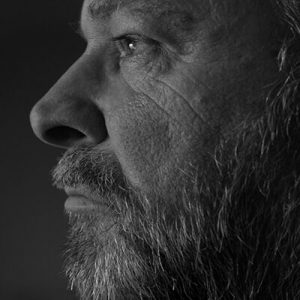
For example the ALT Text for this picture would say Profile picture of Michael with a beard for #Techdaddythursday™ And as always if you can fit your SEO keyword in as well without it not being jarring then excellent! And that brings me to the 2nd reason to use the alt text field. Google gives you extra SEO juice for using it so there really isn’t any reason not to do it.
So to sum up
- Name your images something that makes it easy to find again.
- Make it smaller in pixel dimensions (GIMP is a free tool to do this)
- TinyPng it to make the file smaller
- Check for metadata you don’t want
- Use the Alt Text field always
That wraps up this week’s edition of #techdaddythursday™ Please feel free to ask any question, here in the comments or on Twitter (DM if you are shy)


Eroticon Technical Director